cjrenick
Training Wheels
 1972 CL350
Posts: 186
|
Post by cjrenick on May 3, 2013 21:01:46 GMT -4
|
|
|
|
Post by tango911 on May 4, 2013 8:48:44 GMT -4
great start. keep the pics coming.
!!
|
|
cjrenick
Training Wheels
 1972 CL350
Posts: 186
|
Post by cjrenick on May 4, 2013 20:07:51 GMT -4
Well today I was able to do a little detabing. Ground off the two hinges for the original seat and cut out the holes for the side covers(at the red arrow). Anything else I should detab? I think I have decided to cut the rails where the yellow line is in the photo. Think it looks a little funny if I left the round holes at the back. 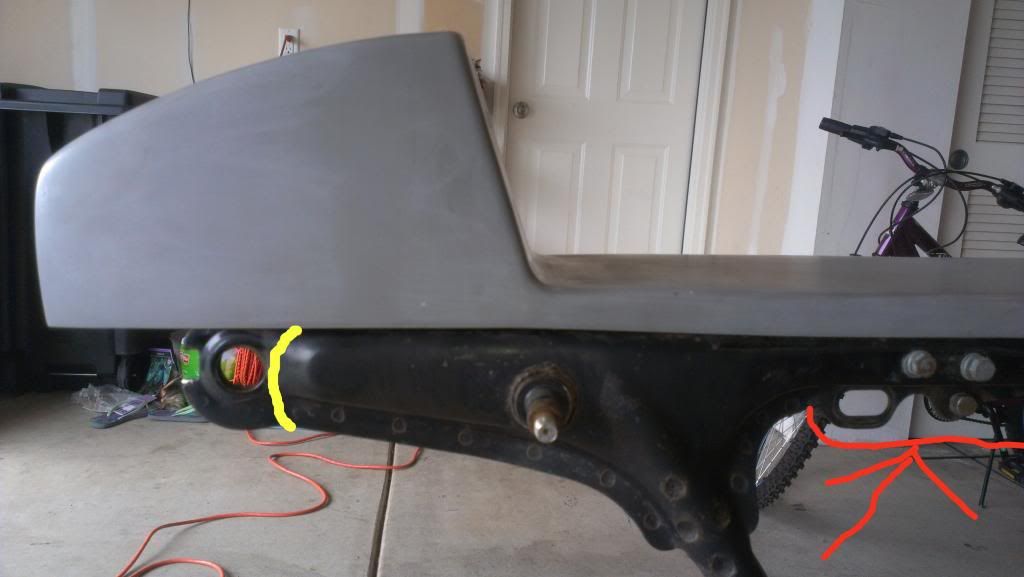 |
|
cjrenick
Training Wheels
 1972 CL350
Posts: 186
|
Post by cjrenick on May 4, 2013 20:10:20 GMT -4
Question for those that have fiberglassed before. Can I add more fiberglass to the front of the seat to fill in that gap between the seat and the tank?
|
|
cjrenick
Training Wheels
 1972 CL350
Posts: 186
|
Post by cjrenick on May 5, 2013 17:07:03 GMT -4
Yes, Isolato photos would be great. I think I follow what you are saying.
|
|
cjrenick
Training Wheels
 1972 CL350
Posts: 186
|
Post by cjrenick on Jun 2, 2013 22:17:02 GMT -4
Well my progress has been even slower than I had thought. Maybe now that the girls softball is almost over I can work on it a little more. With help from Mike got the electronics tray welded in.  We are now going to look at adding to the rails. It looks kind of funny with the frame ending and the seat going on another 4 inches or so without rails under it.  Thinking about going with one of these two as far as adding to the rails. 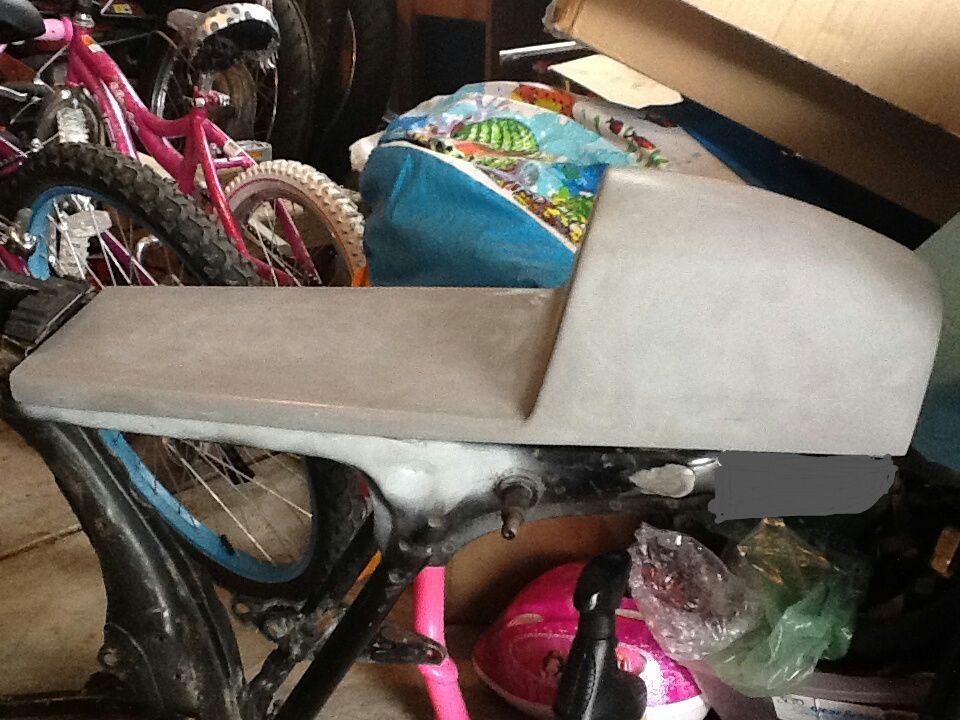 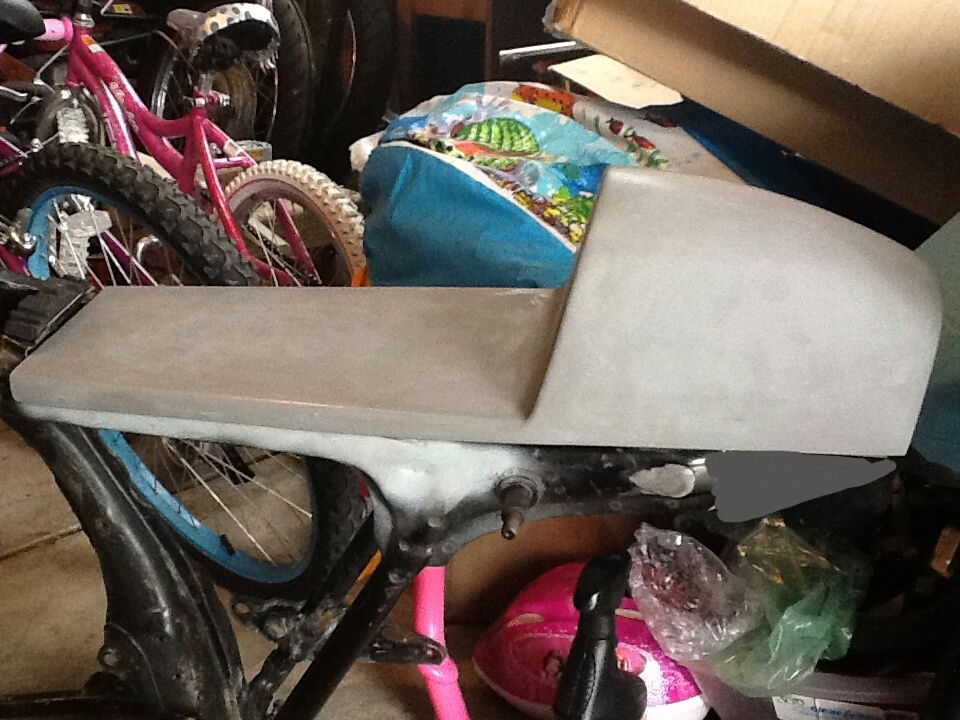 |
|
cjrenick
Training Wheels
 1972 CL350
Posts: 186
|
Post by cjrenick on Jun 2, 2013 22:23:57 GMT -4
Also having an issue with how the tank sits lower than the seat. 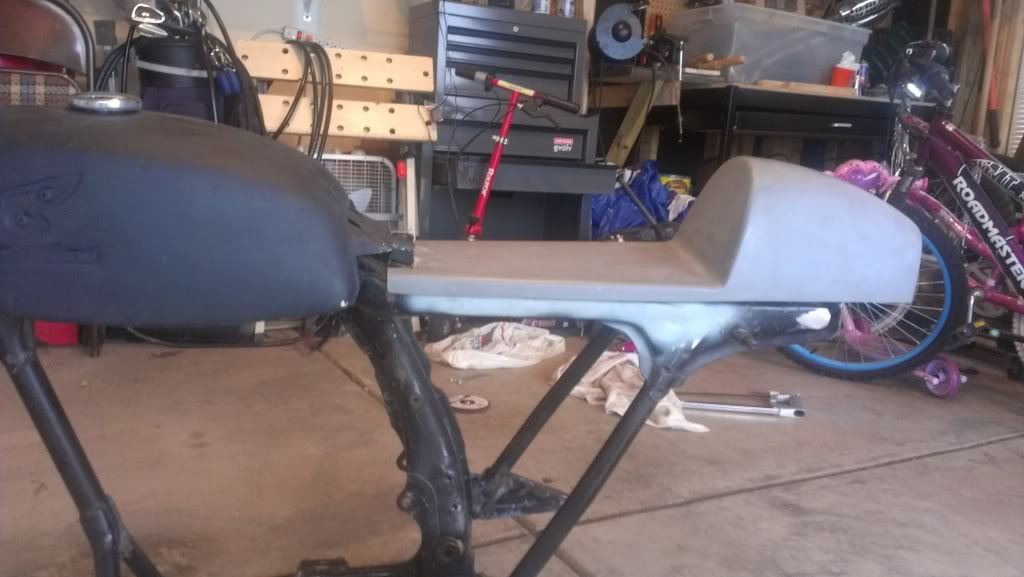 If I find a way to raise it up 1/2 inch it does not look to bad. 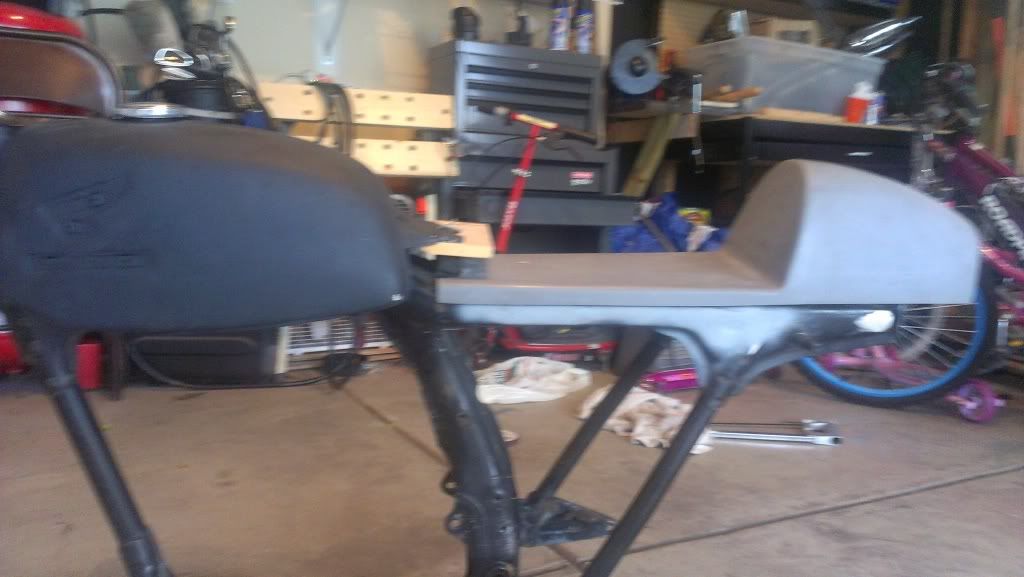 Wondering if I could just bend down the rear mount. But, if I do raise it then it will be that much harder to fill in that space at the back of the tank. |
|
cjrenick
Training Wheels
 1972 CL350
Posts: 186
|
Post by cjrenick on Jun 2, 2013 22:28:45 GMT -4
The logo that Mike cut out looks awesome! Alright that is enough for tonight. 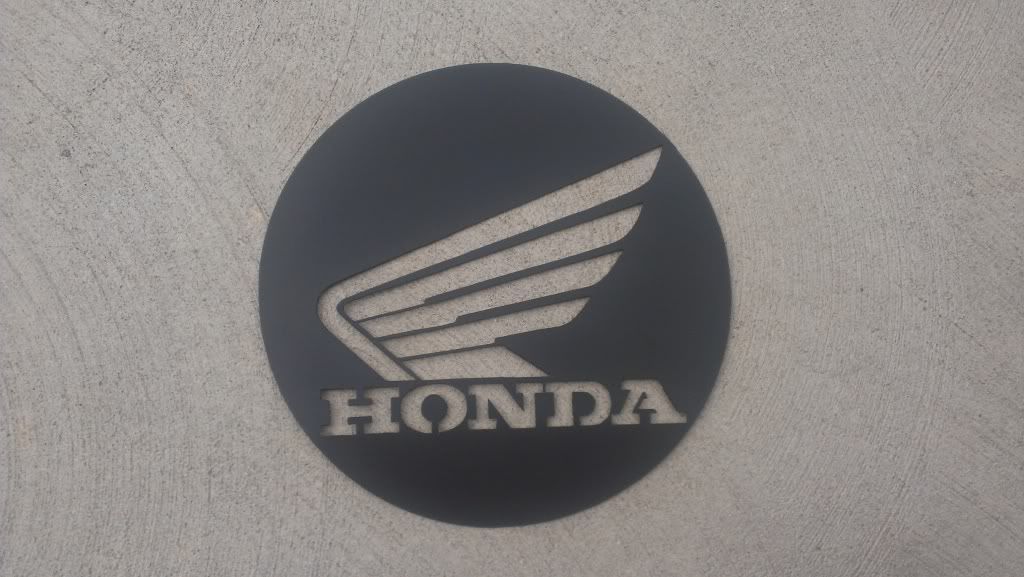 |
|
markp
Training Wheels

Posts: 31
|
Post by markp on Jun 3, 2013 6:50:31 GMT -4
Here's what I did with a piece of part stock. Attachments:
|
|
markp
Training Wheels

Posts: 31
|
Post by markp on Jun 5, 2013 20:50:42 GMT -4
And this is what it looks like with the seat installed. Attachments:
|
|
cjrenick
Training Wheels
 1972 CL350
Posts: 186
|
Post by cjrenick on Jun 6, 2013 17:27:07 GMT -4
Looks good markp!
|
|
cjrenick
Training Wheels
 1972 CL350
Posts: 186
|
Post by cjrenick on Jun 9, 2013 19:50:54 GMT -4
Thanks to Mike, got the rails extended . Now it is time to get ready to paint the frame. Also going to stop by Kent Upholstery this week to see if he can make me a seat that will fill in my gap.  |
|
cjrenick
Training Wheels
 1972 CL350
Posts: 186
|
Post by cjrenick on Jun 10, 2013 13:57:00 GMT -4
Played around with photo editor. Trying to decide which base color to use. Still a good ways from this point, but I can dream that I am to this point. 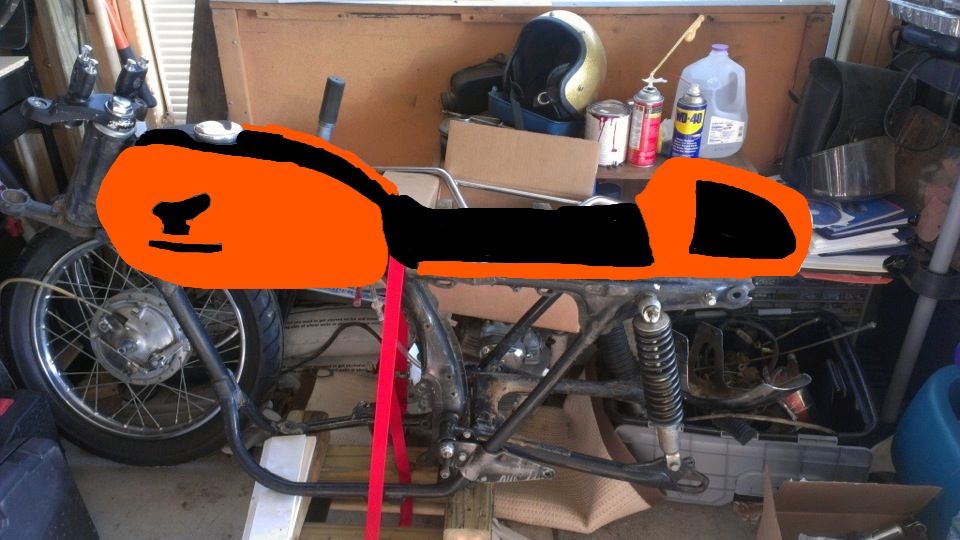  |
|
cjrenick
Training Wheels
 1972 CL350
Posts: 186
|
Post by cjrenick on Jun 11, 2013 13:49:29 GMT -4
3 or 4 layers here. starts to take shape. I've added 2 layers since this, and some strengthening and shaping touch ups too. Isolato, you have a picture of it upholstered? |
|
cjrenick
Training Wheels
 1972 CL350
Posts: 186
|
Post by cjrenick on Jun 13, 2013 10:49:34 GMT -4
Thinking about my lighting situation. Has anybody used the brake and turn led light strips? This is what I want to do for brake/running and turn signals. 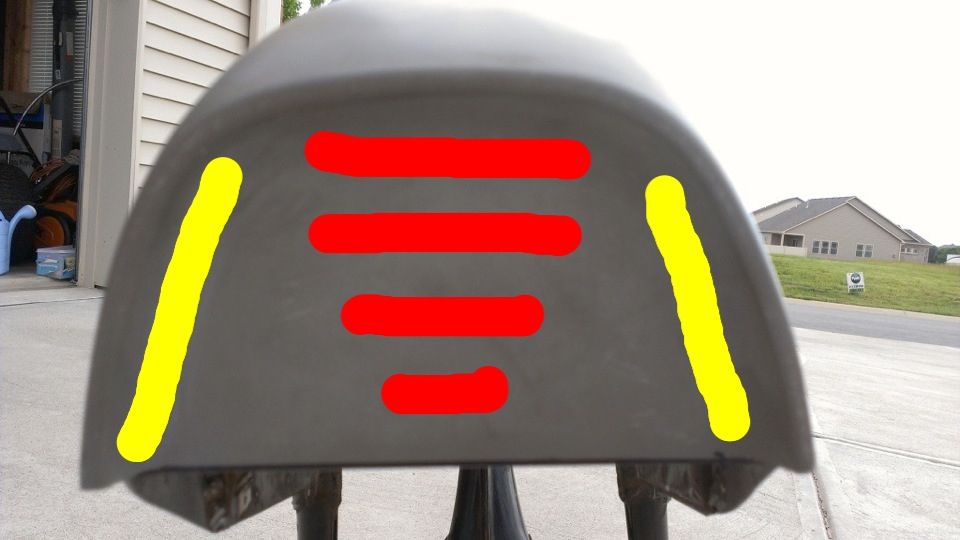 |
|